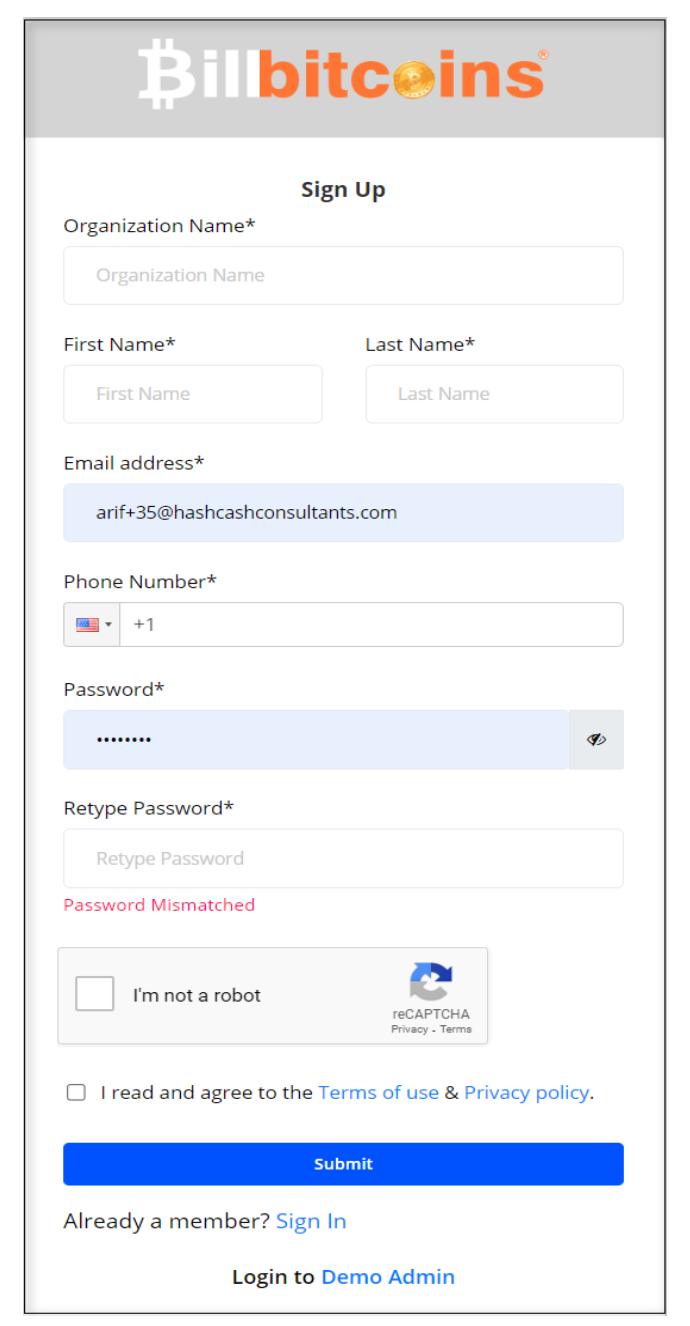

Go to https://billbitcoins.com/app/v2/ui/signup link.
Here, enter your Organization name, First Name, Last Name, working email address, and working phone number, enter the password and retype the password, click on the captcha, check the agreement check box, and click on the Submit button.
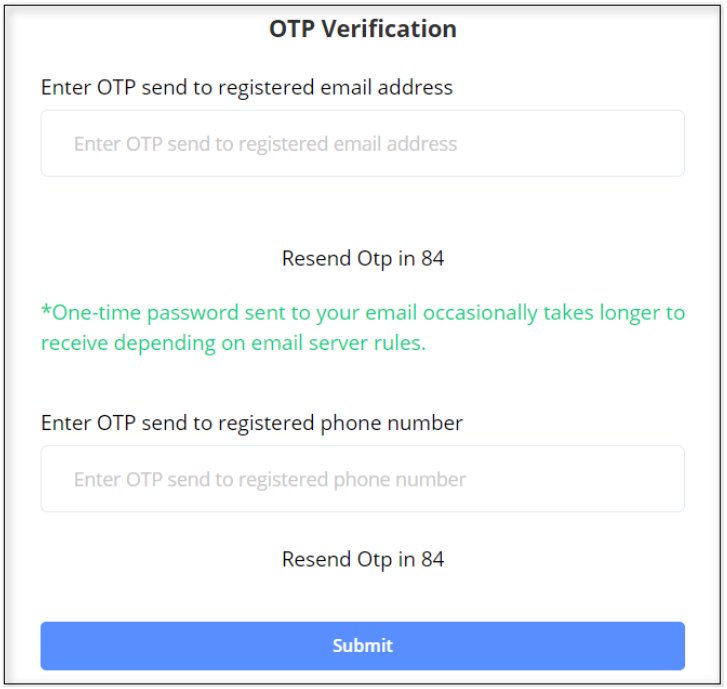
After submitting the form, it will ask to verify your email address and mobile number. After OTP verification, the user will be able to login into Billbitcoin Merchant.
Go to https://billbitcoins.com/app/v2/ui/ link.
Enter your registered email address and password, click on the captcha, and click on the Sign In button.

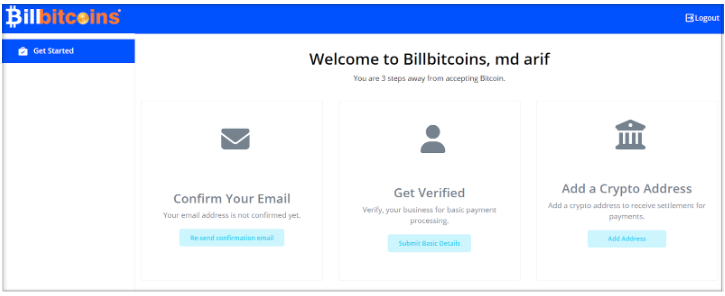
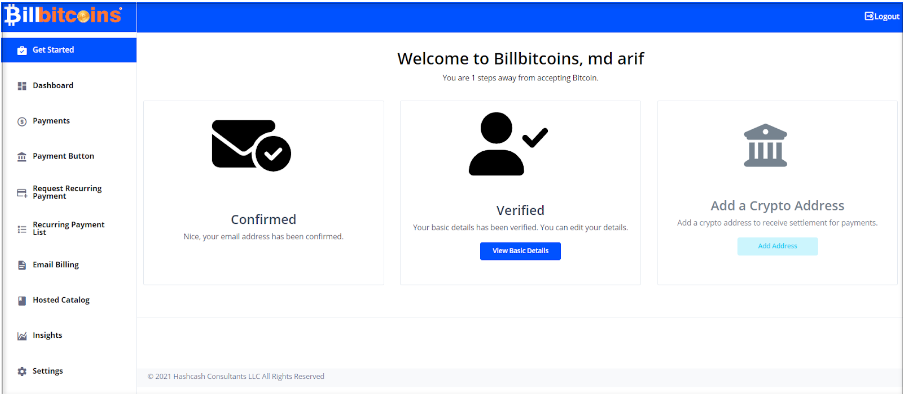
After login, this welcome page will show and an email will be sent to Confirm email address.
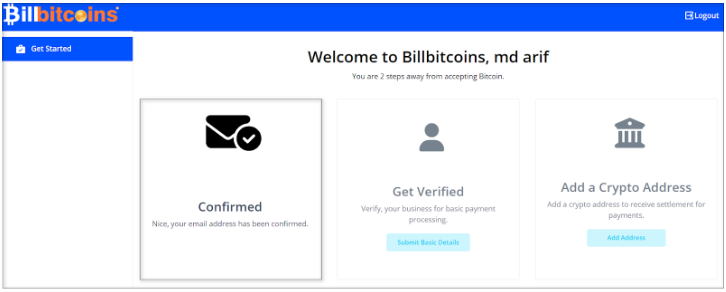
After confirmation, the status will be changed to Confirmed.
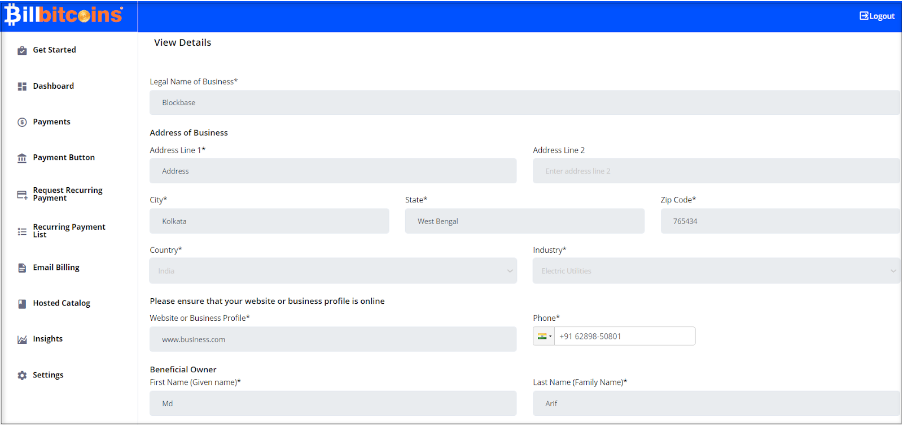
The user will enter basic information here and submit it.
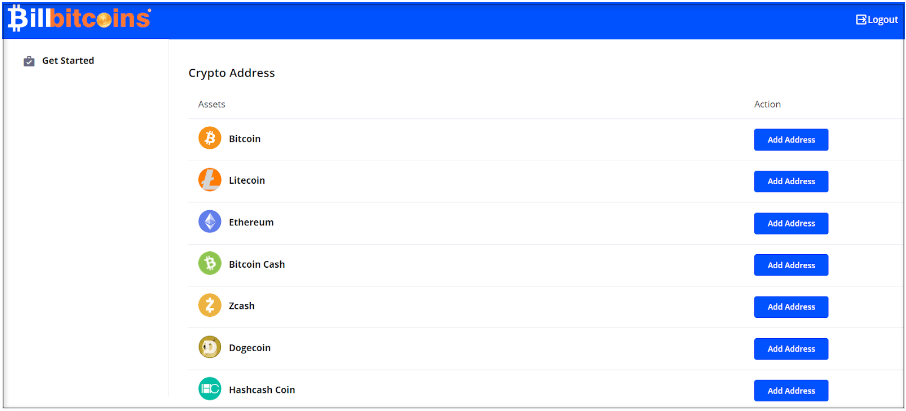
Users can add a crypto address from this section.
This screen shows when a user thoroughly verifies his/her account.
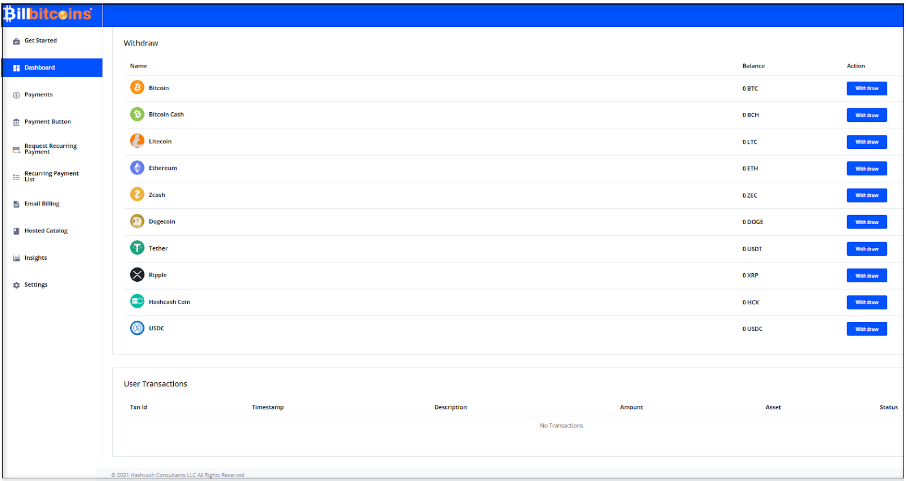
The dashboard shows all currencies with a withdraw button. Users can withdraw currencies in PayBitoPro and other addresses. Users can see transactions here.
Users can withdraw the cryptocurrency in a PayBitoPro account by logging into PayBitoPro if already a PayBitoPro user otherwise user have to Register in PayBitoPro from here.
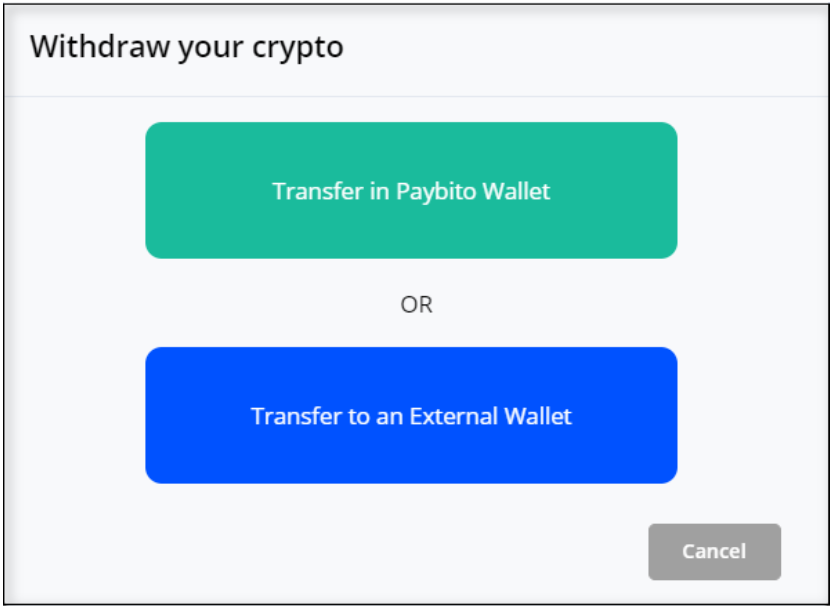
Clicking on the withdraw button below popup will appear. User can transfer funds to Paybito Wallet or in External Wallet.
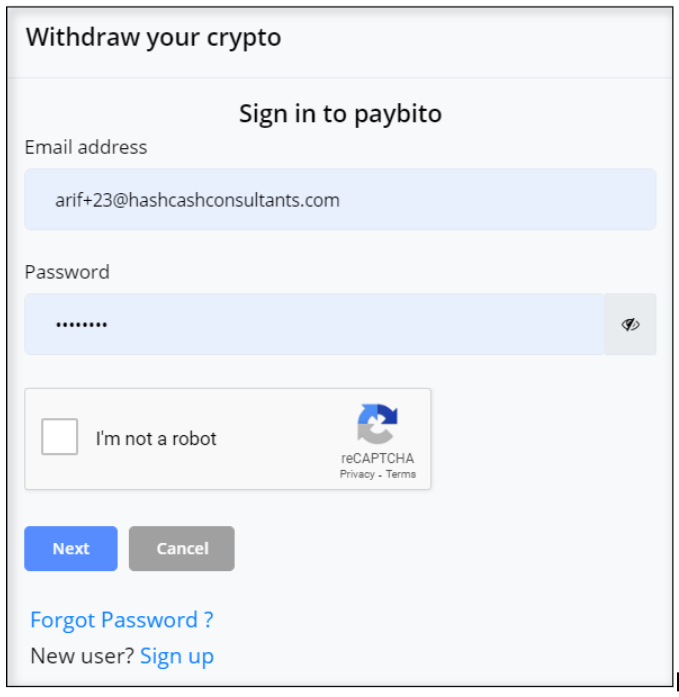
Clicking on “Transfer in Paybito Wallet”, the login page will open. Users can login to the exchange and transfer the balance by providing email OTP and Google Authenticator.
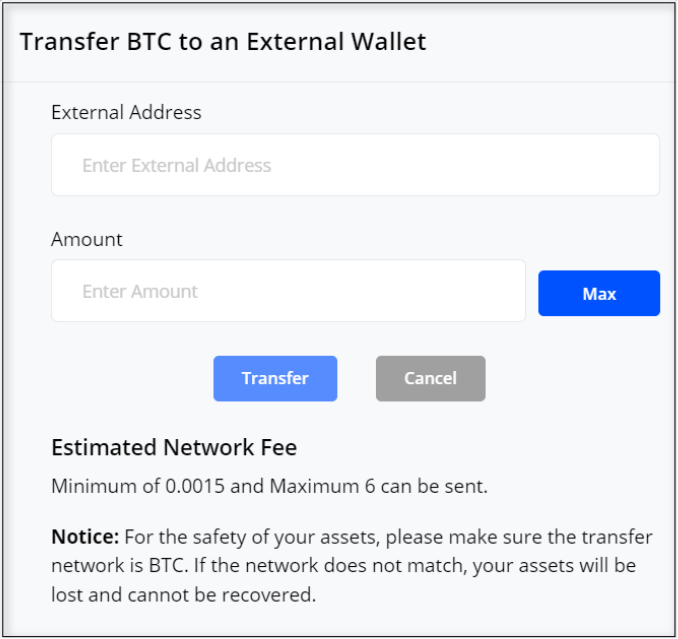
Transfer to an External Wallet
Users can transfer the balance by providing email OTP and Google Authenticator.
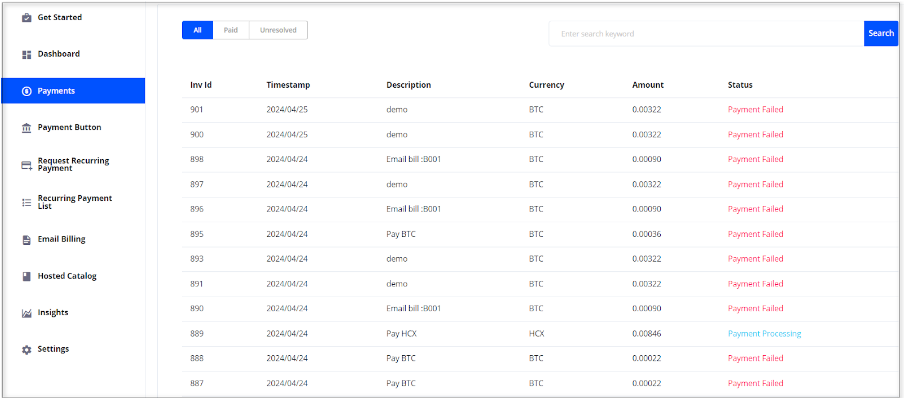
This menu shows all withdrawals done on the site and the payment status ‘Payment Processing or Payment Failed.
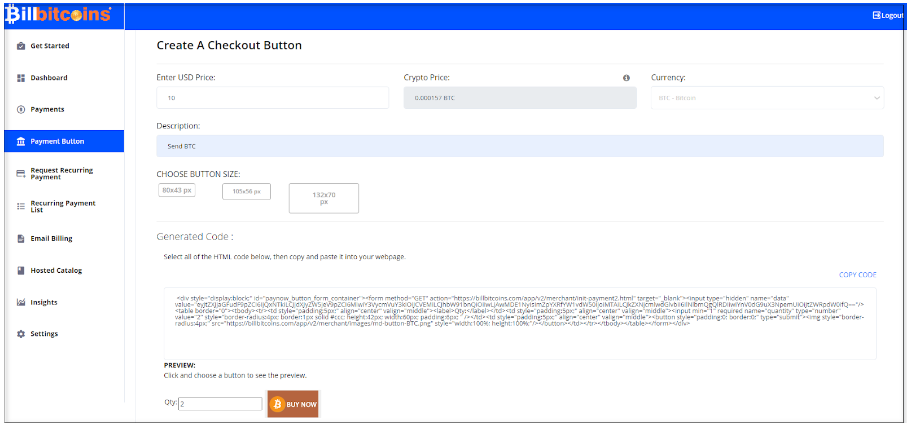
You can create a Buy Now button for your website in three different sizes.
Enter the Price in USD, equivalent crypto price will automatically show, Choose the currency, Write a description, and choose a button size and enter quantity. It will create an HTML code that will generate a Buy Now button. Put this code in your website or HTML editor.
Clicking on this Buy Now button will navigate you to the Payment Page. Fill in the Buyer Information Email Address, Name, and Crypto Refund Address and click on Proceed to Payment.
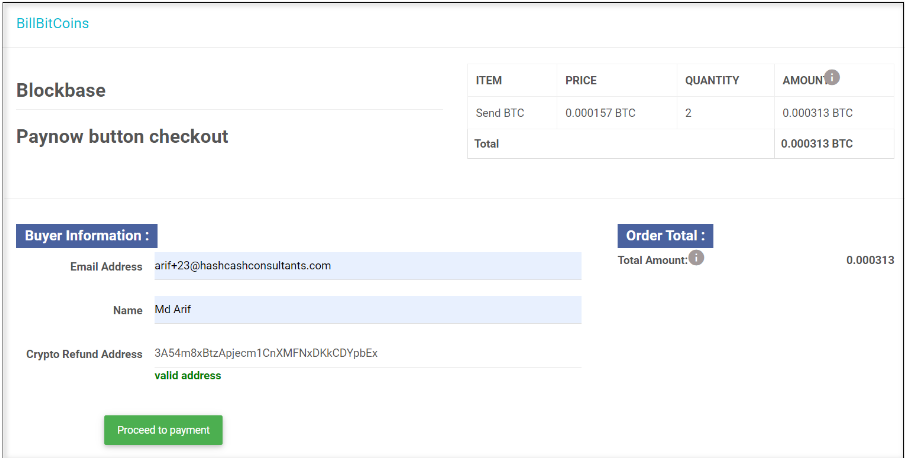
Clicking on Proceed to Payment button will navigate to the invoice page. Scan this QR code or copy the address to send the amount.

Recurring payments are transactions that occur regularly and repeatedly at predefined intervals. This payment is used for utility bills where regular payments are required.
Users can request a recurring payment from this section. This request will go to https://trade.paybito.comhttps://trade.paybito.com
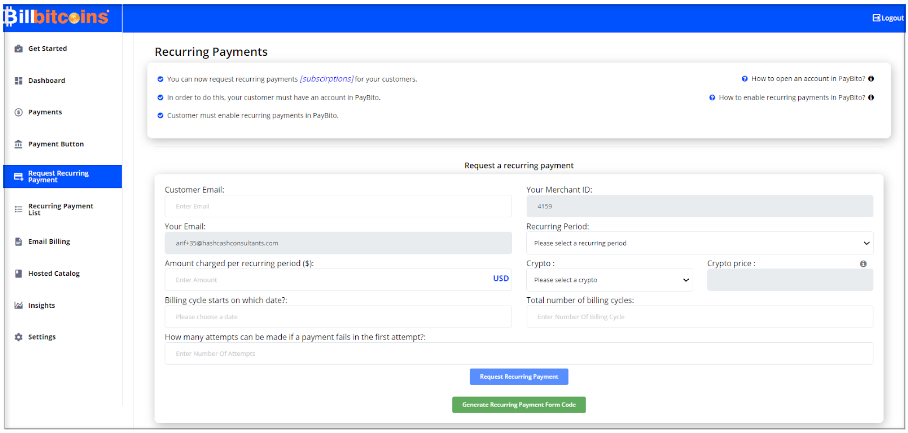
This request will go to https://trade.paybito.com

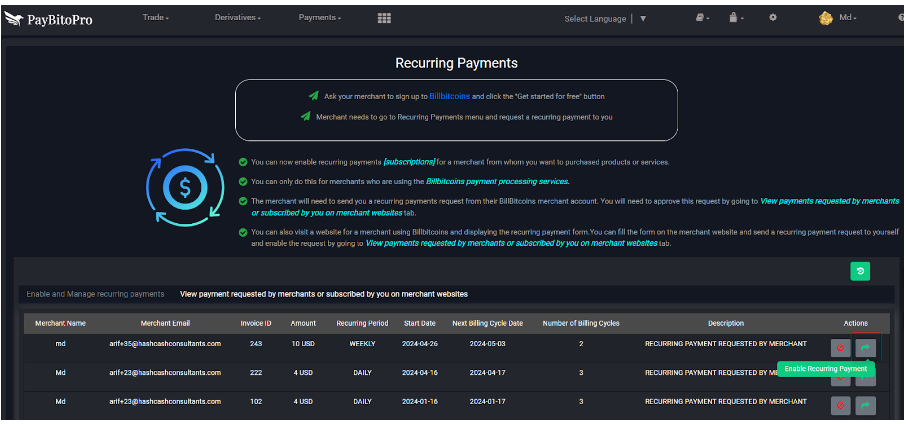
The User will need to send a recurring payment request from this BillBitcoins merchant account. Users will need to approve this request by going to View payments requested by merchants or subscribed by you on the merchant websites tab.
From this tab, the user can enable the above recurring request.
Your Current Active Subscriptions
The "Your Current Active Subscriptions" tab within the Recurring Payments List provides users with an overview of their ongoing services that are currently active.

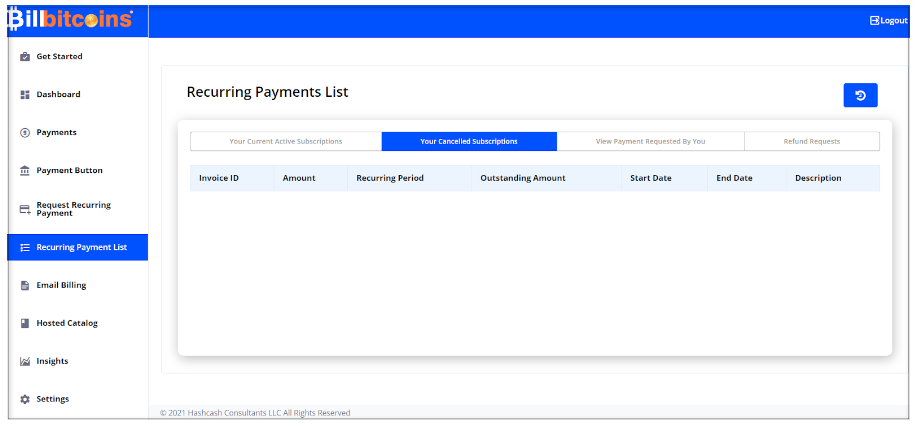
Your Cancelled Subscriptions
The "Your Cancelled Subscriptions" tab within the Recurring Payments List provides users with a comprehensive view of subscriptions that were previously active but have since been terminated or canceled.
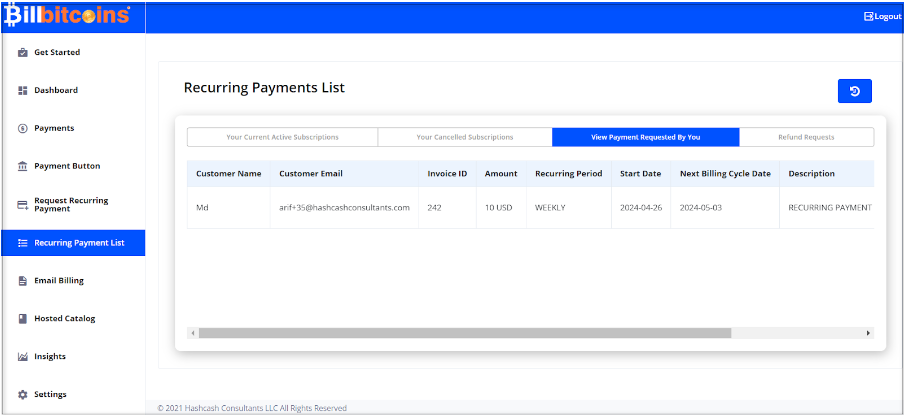
View Payment Requested By You
The "View Payment Requested By You" tab within the Recurring Payments List provides users with a record of payment requests that they have requested.
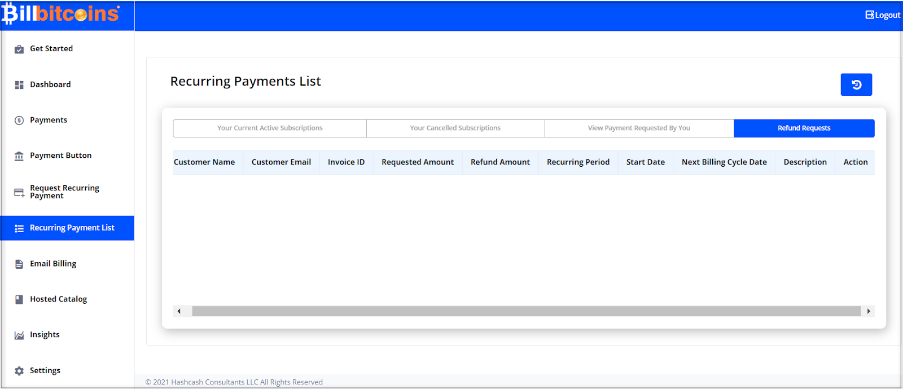
The "Refund Requests" tab within the Recurring Payments List offers users a consolidated view of refund requests initiated by customers.
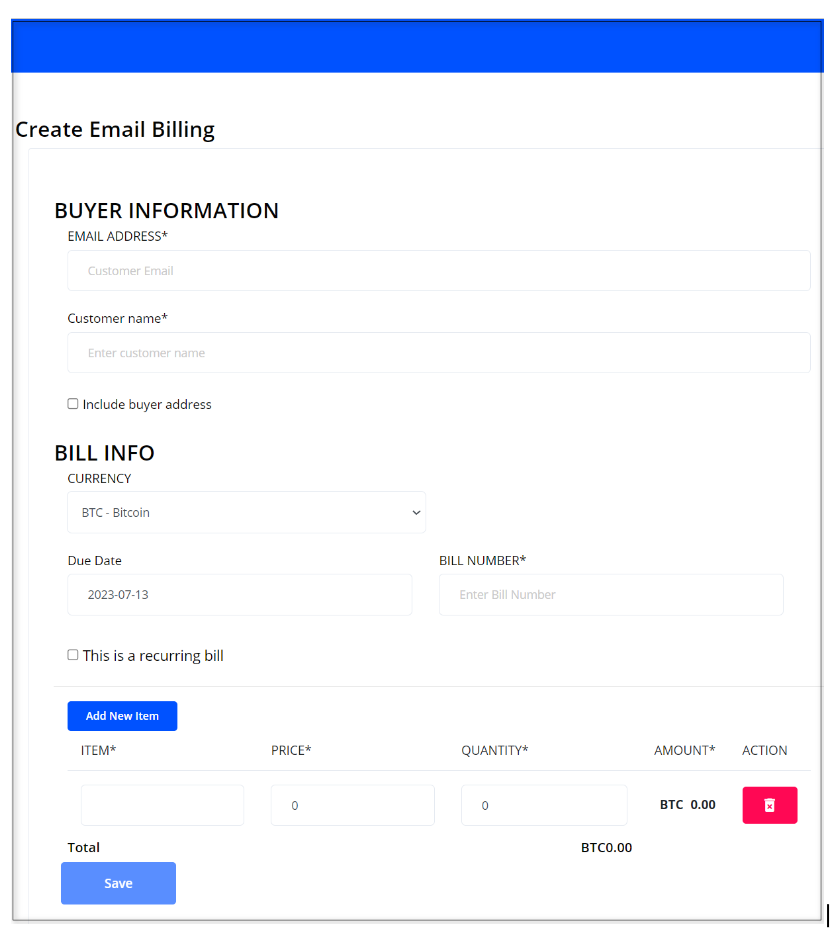
The users can create new bills or edit existing bills to send by email.
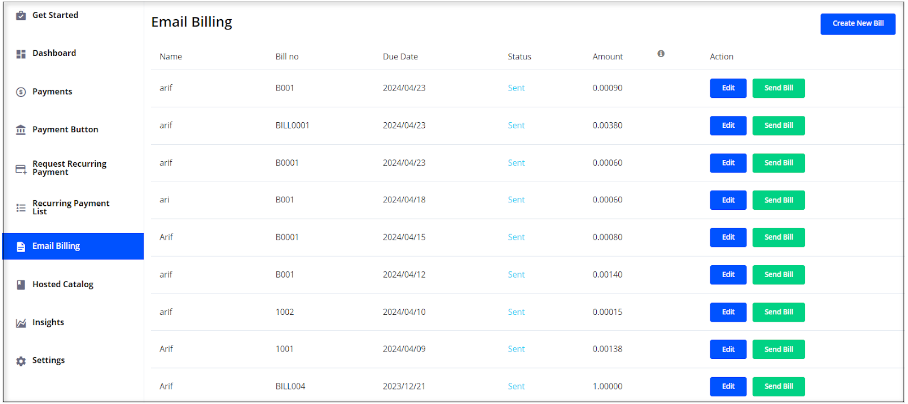
You can create a new bill by filling up the required fields.
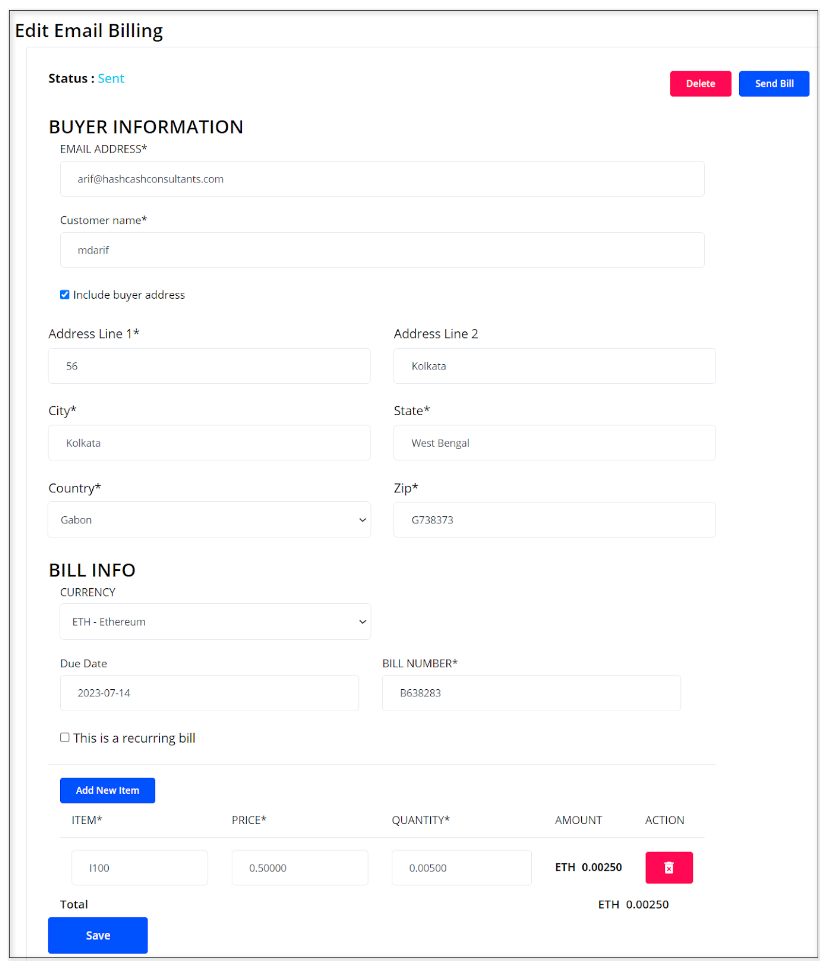
From this section, you can edit your bill, Delete, and Send the invoice to the specified email address.
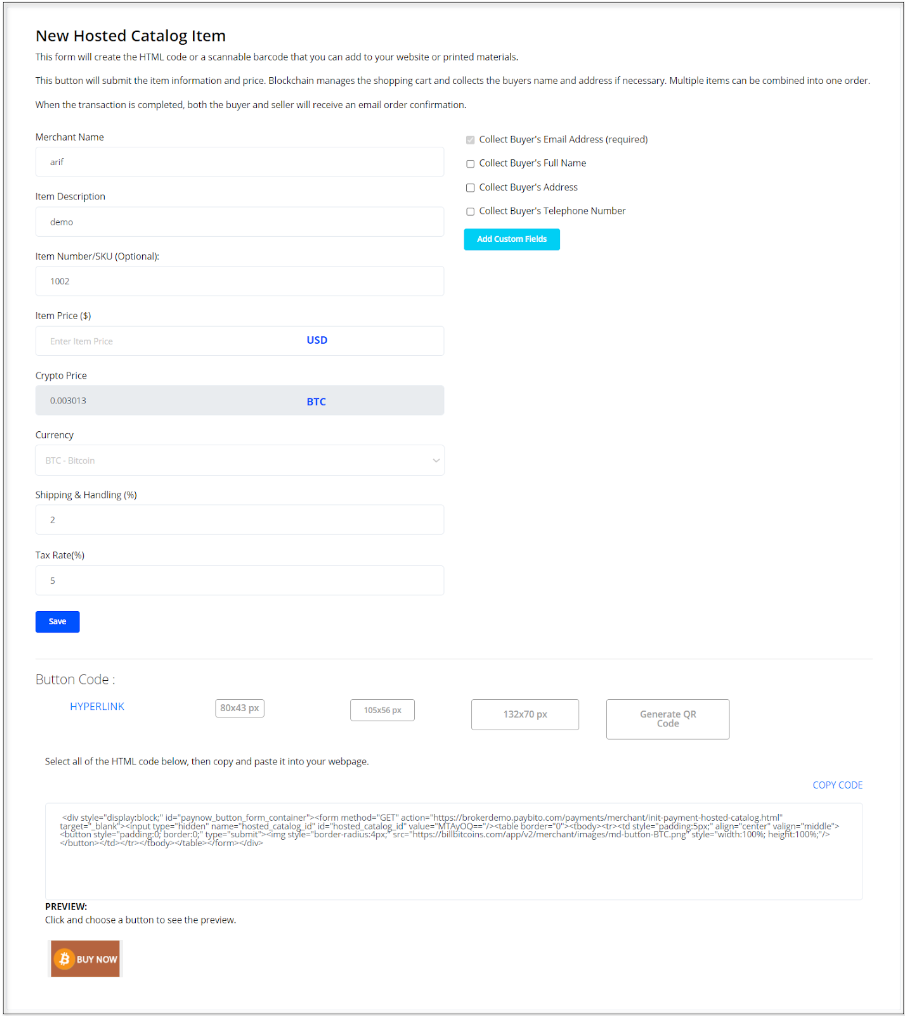
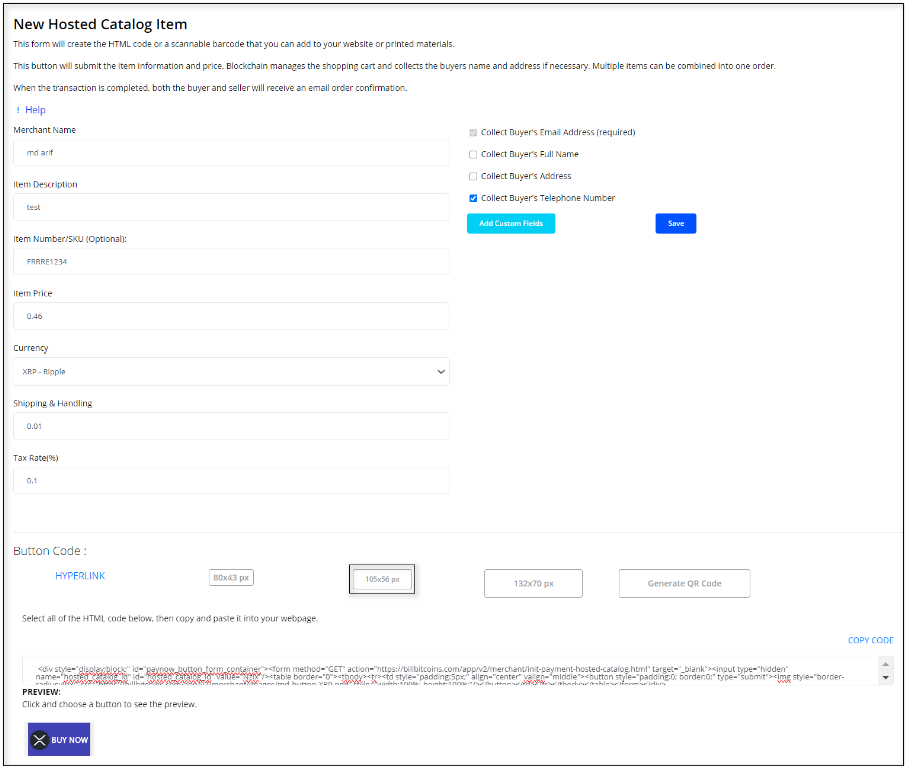
This form will create the HTML code or a scannable barcode that you can add to your website.
This form will create the HTML code or a scannable barcode that you can add to your website.
This button will submit the item information and price. Blockchain manages the shopping cart and collects the buyer's name and address if necessary. Multiple items can be combined into one order.
Click on the Save button to add the item to the Hosted Catalog. When the transaction is completed, both the buyer and seller will receive an email order confirmation.
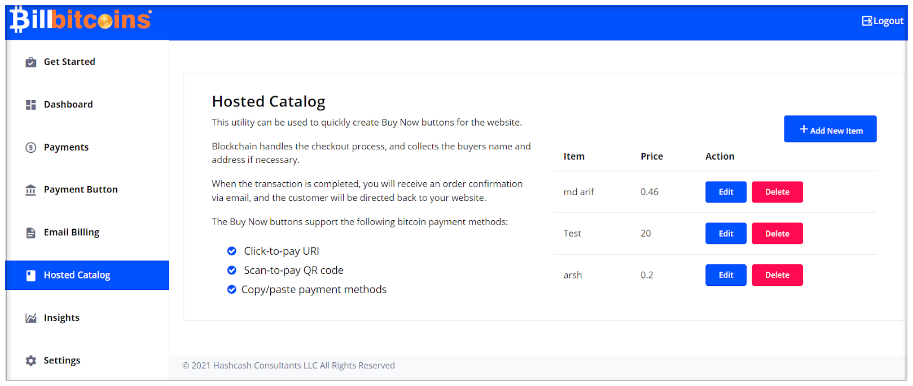
The users can edit their hosted catalog items from this edit and generate QR codes, HTML codes, and Hyperlinks for their website.
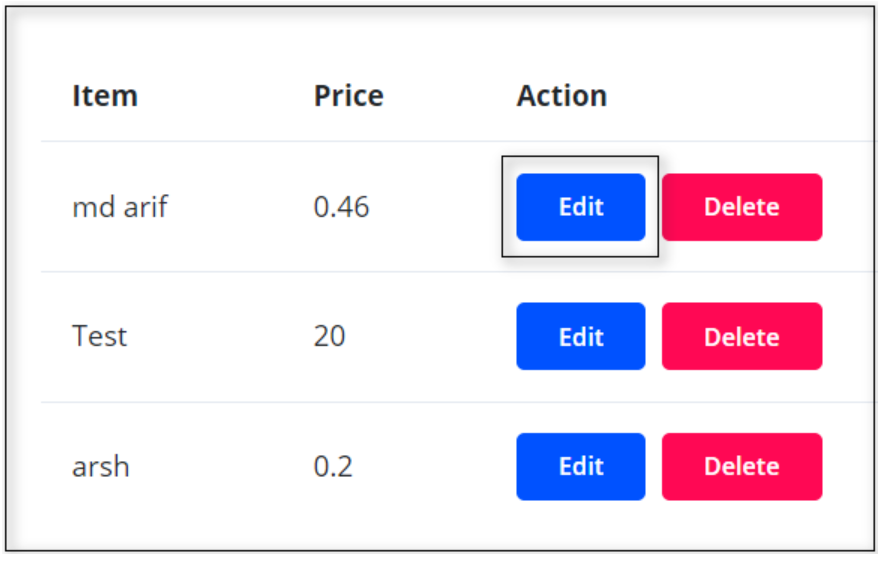
After clicking on the Edit button the user will redirects to the below page.
Users have to enter the below details on this page.
After selecting the size of the button, an HTML code will be displayed in the text box with the COPY CODE button. Users can copy the code and add it to their website, it will create a BUY NOW button on the website.
Users can generate the invoice by clicking on the BUY NOW button.
Users can get a hyperlink by clicking on the HYPERLINK.
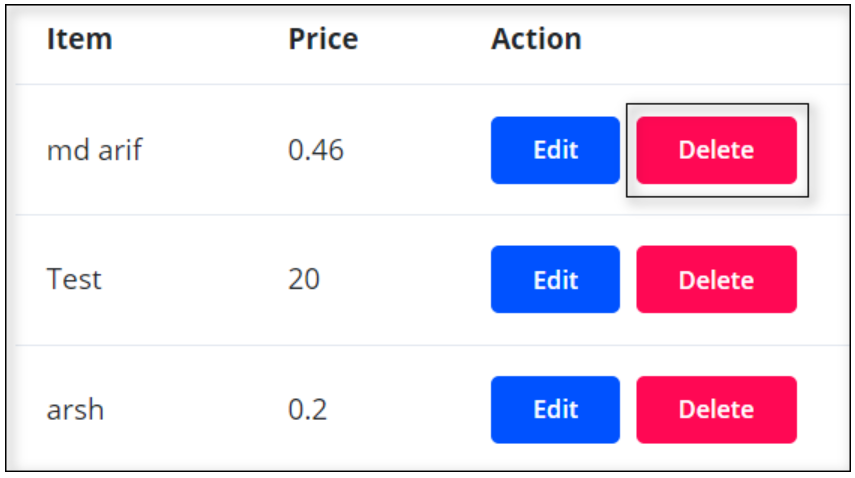
The user can delete the hosted catalog from this delete option.
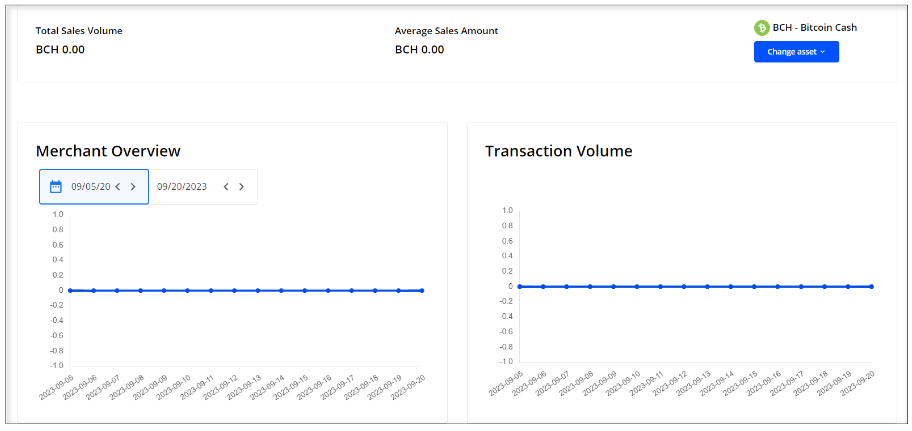
This menu displays the Merchant Overview and Transaction Volume. User can select the currency from dropdown.
Setting has 2 Tabs.
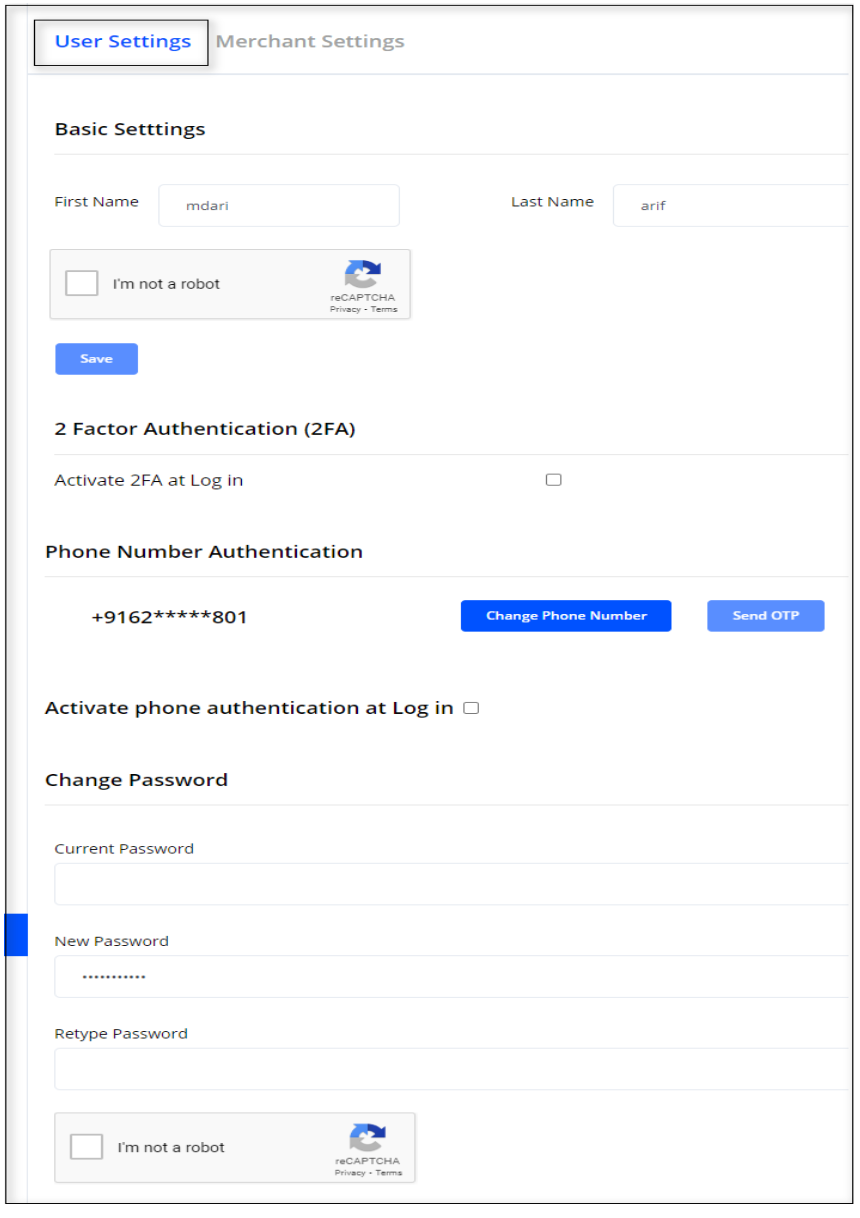
In user settings, User can change Basic Details, Activate 2FA, Change Phone Numer, Activate phone OTP at login, Change Login Password.
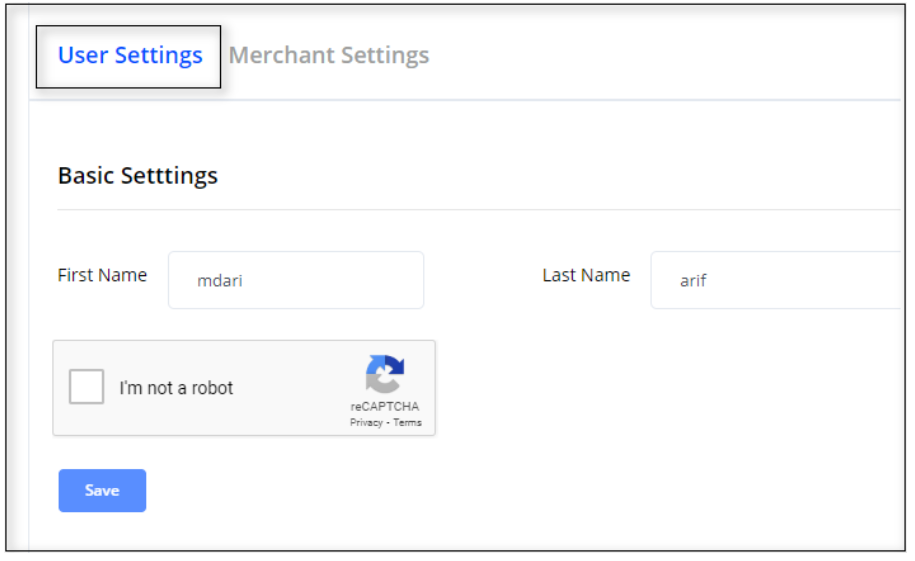
User can update their First Name and Last Name from this settings.
It will update the first name and last name.
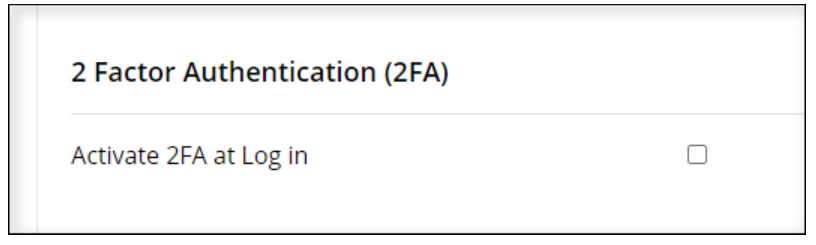
From this section, the user can activate 2FA at the time of login.
For users who never activated 2FA, only email OTP is required at the time of activation.
For users who activated the 2FA, email and Google authenticator code are both required at the time of activation.
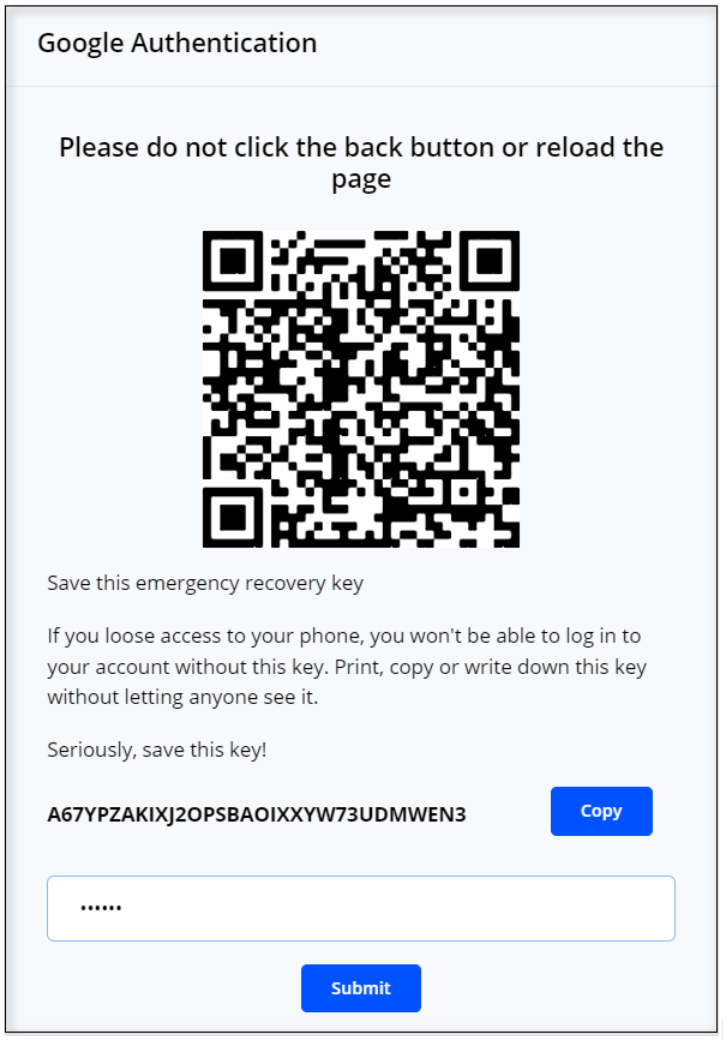
NOTE: Users have to download the Google Authenticator app, scan the QR code provided, provide the activation code, and click on the Submit button then the 2FA will be activated and the user will log out from the application.
An emergency recovery key is also there, users should save this key to use in case of loose access to the phone.
This will activate the phone number OTP at login when user click on the checkbox and the provide GA code. After providing the GA code the user will automatically logout from the application.
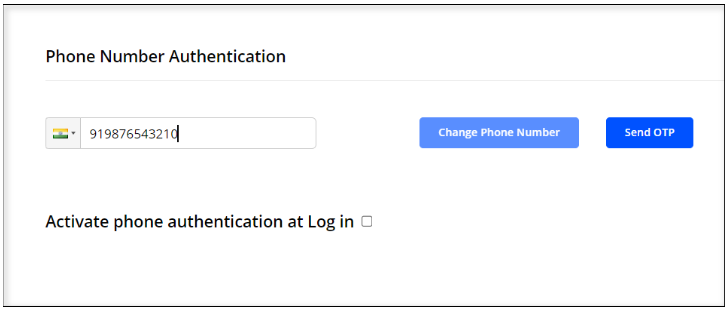
User clicks on the Change Phone Number button a field with country code and a text field will open. The user selects the country, provides the phone number, and clicks on the Send OTP button.
A small window will open with an OTP field option. The user will get OTP on the registered phone number. Enter that OTP in the OTP field and click on the Proceed button.
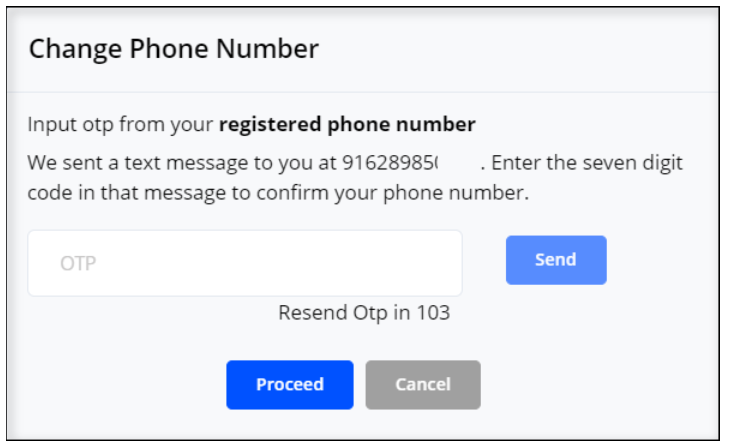
After clicking on the Proceed button, the user will get the OTP on the new phone number. Enter the new OTP in the OTP field and click on proceed. The user will be redirected to the login page.
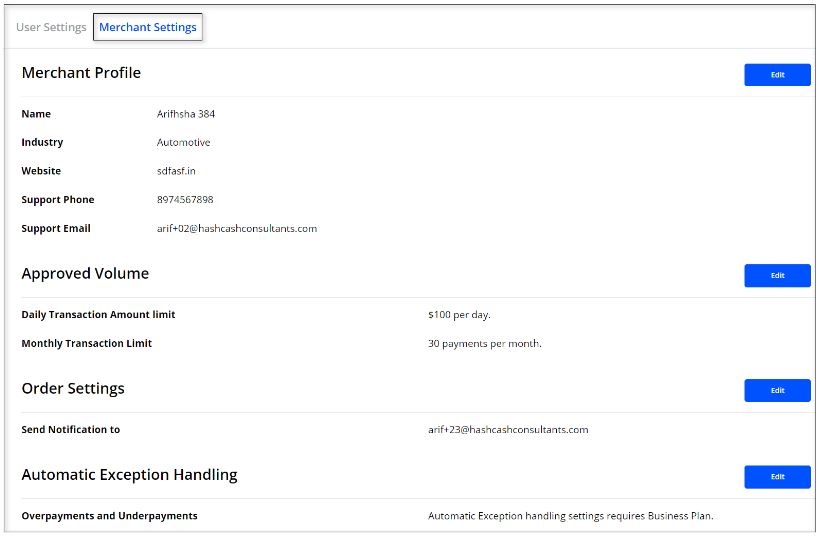
Merchant can change the Profile, Approve Volume, Order Settings, and Automatic Exceptional Handling.
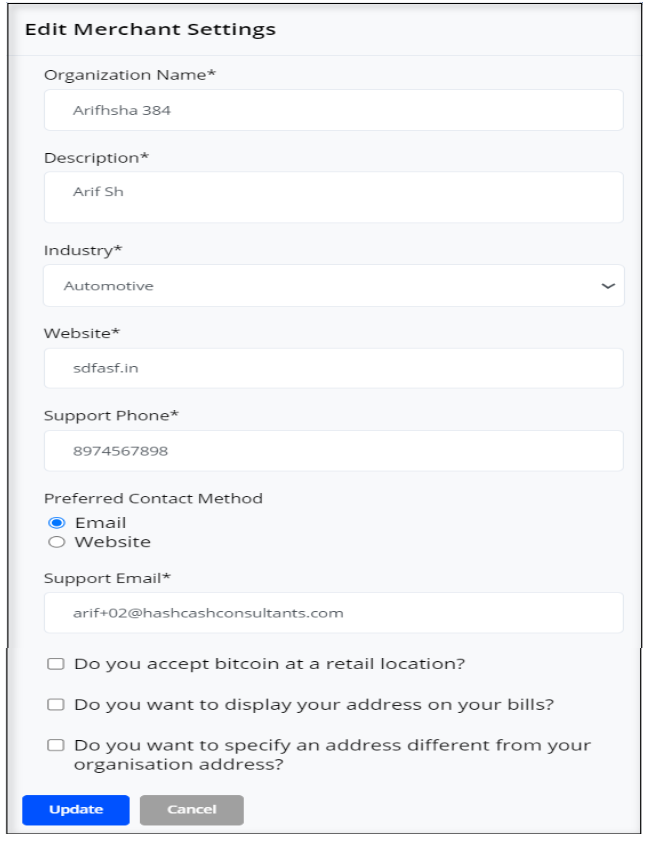
Clicking on the Edit button against Merchant Profile opens this page. Merchant can update their information and click on the Update button.
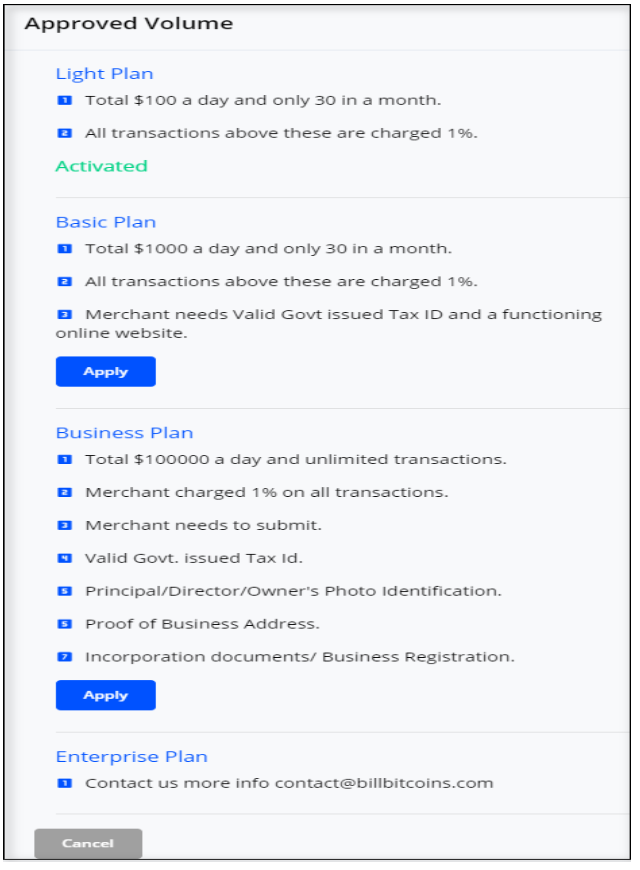
User can apply from the given plans, Light, Basic, Business, and Enterprise. Admin will get the request for upgradation and approve it. The Plan will be activated for the merchant.
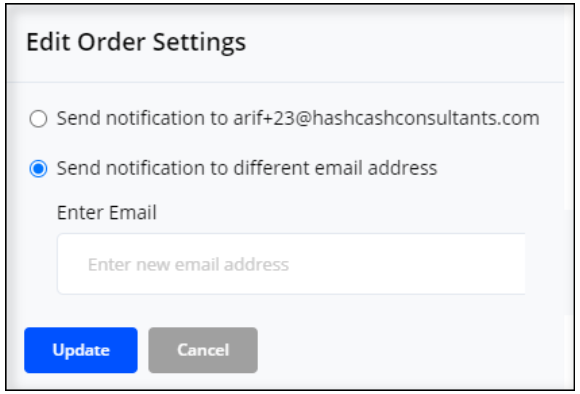
Click on the Edit button to get this screen. Users can change the notification email from this setting and click on the Update button to get the notification.
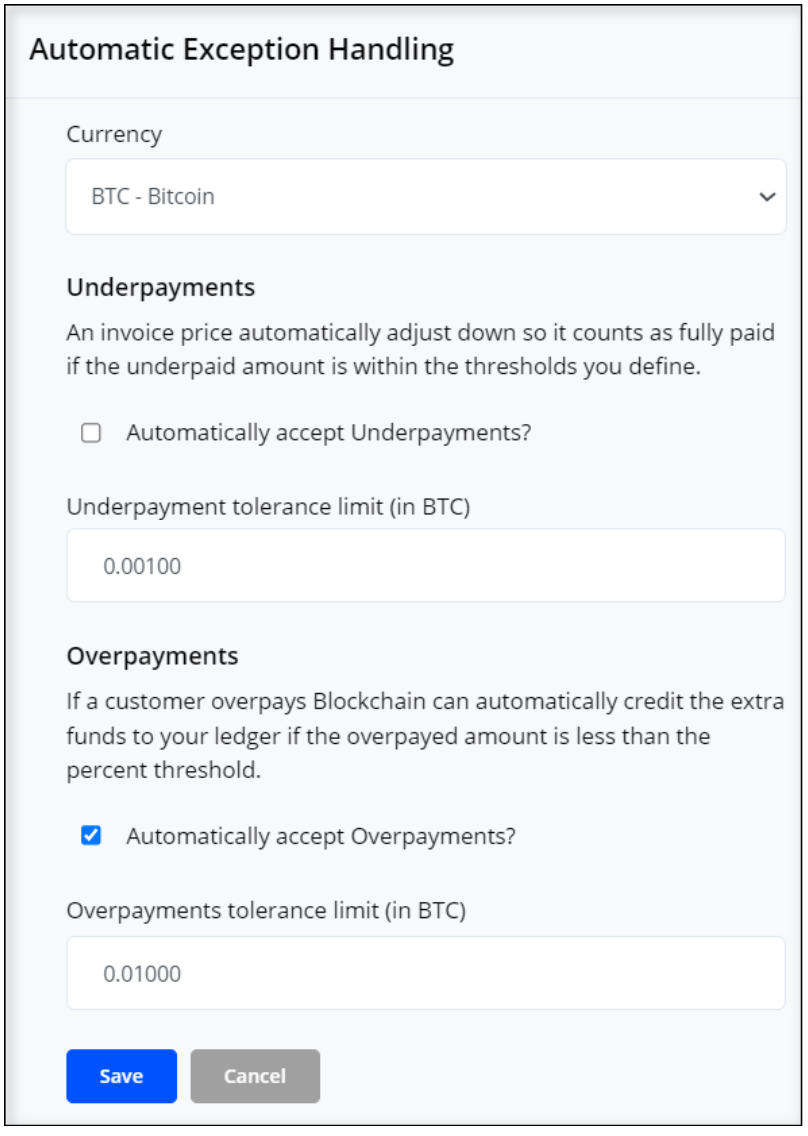
Click on the Edit button to get this popup. Merchant can handle overpayments and underpayments from this settings.


![]() BTC/USD
BTC/USD
![]() ETH/USD
ETH/USD
![]() HCX/USD
HCX/USD
![]() BCH/USD
BCH/USD
![]() LTC/USD
LTC/USD
![]() EOS/USD
EOS/USD
![]() ADA/USD
ADA/USD
![]() LINK/USD
LINK/USD
![]() BAT/USD
BAT/USD
![]() HBAR/USD
HBAR/USD