A real intake, end to end
An actual run in Claude Code. The MCP asks one question at a time, locks in exactly what you're building, then writes the storefront — no guesswork, and nothing built you didn't ask for.
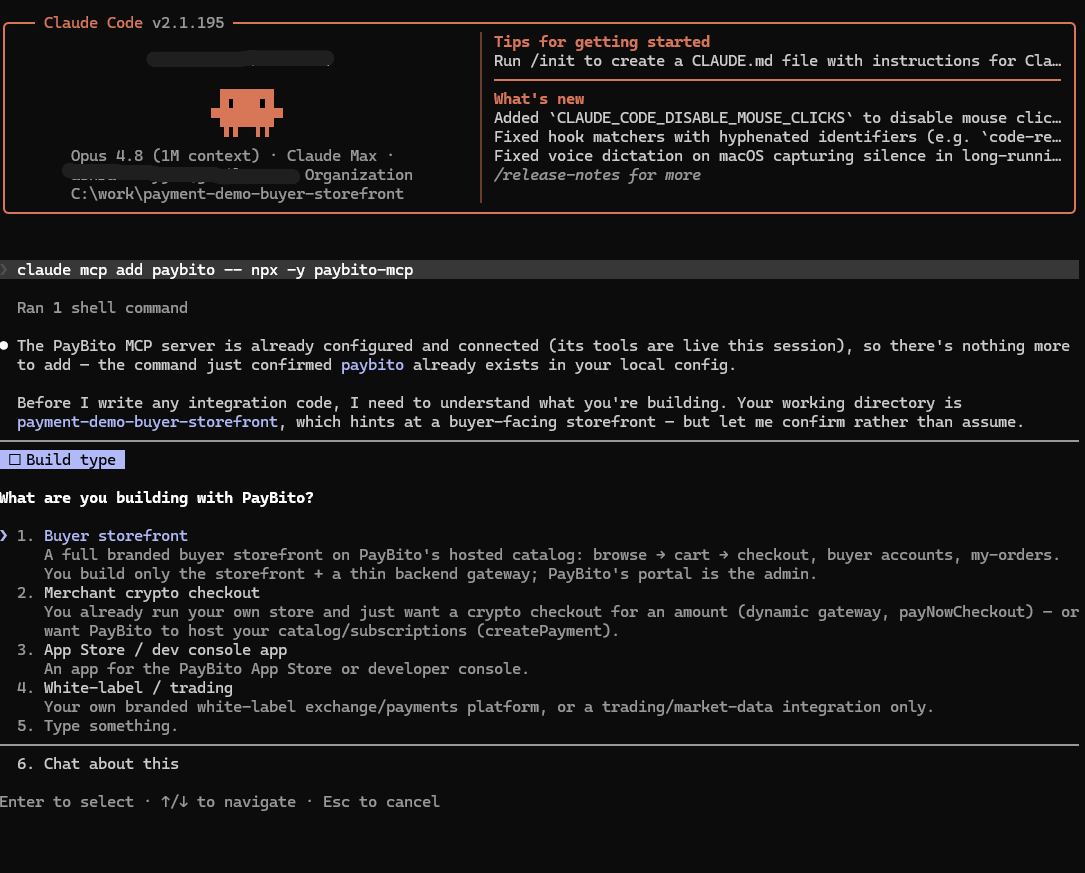
Connect, then ask “What are you building?”
One command — claude mcp add paybito -- npx -y paybito-mcp — then the trigger phrase “use paybito”. The MCP opens with the top-level menu; here the developer picks Buyer storefront.
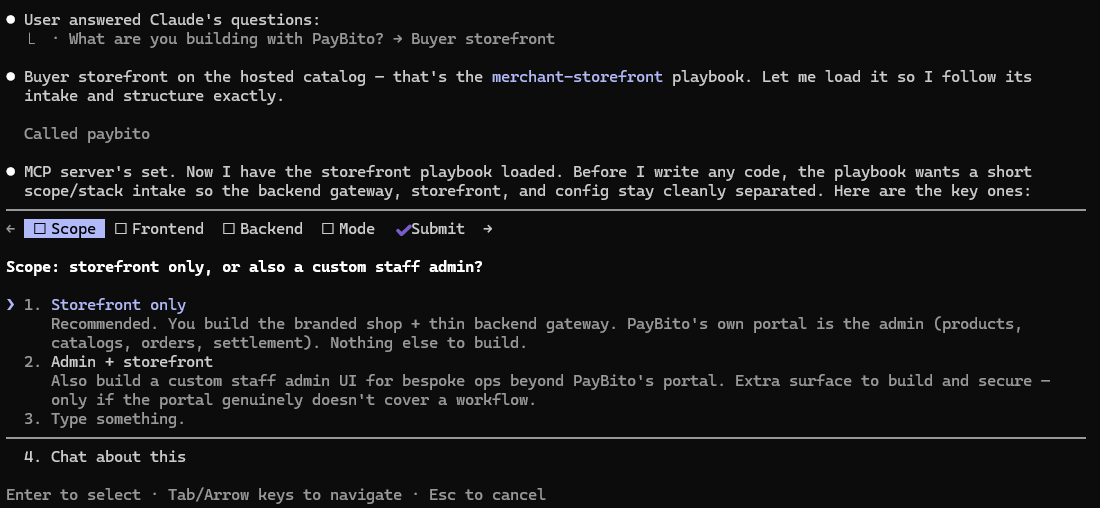
Scope — storefront only, or also a custom admin?
It loads the merchant-storefront playbook and asks the scope. Storefront only is recommended — PayBito's own portal is the admin (products, catalogs, orders, settlement), so there's no admin to build.
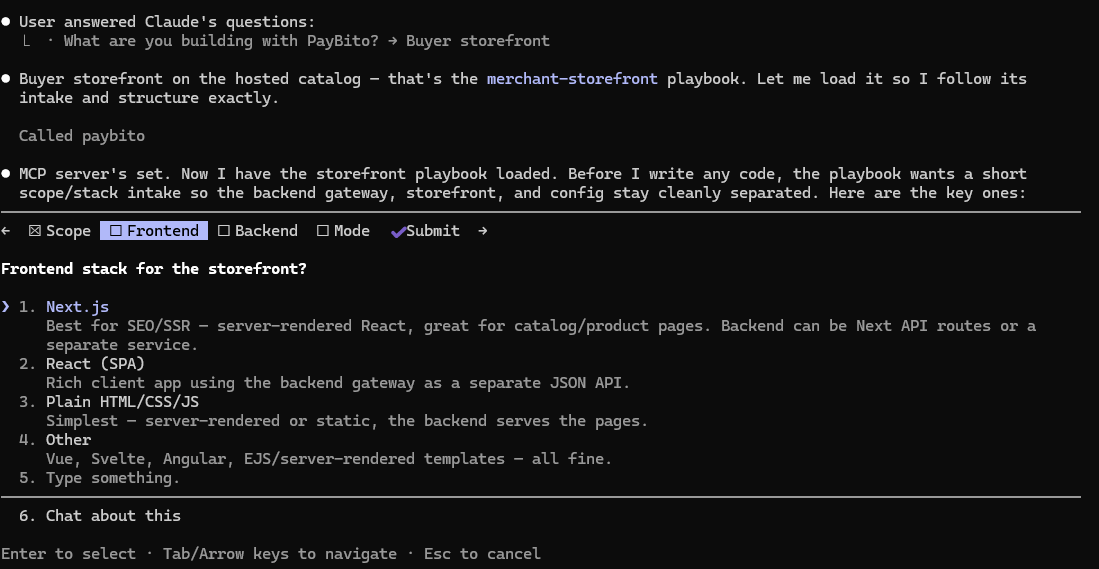
Frontend stack for the storefront
Any stack works — Next.js (best for SEO/SSR), React SPA, plain HTML/CSS/JS, or Vue/Svelte/EJS. The choice only changes rendering; the API key always stays on the backend, never in the browser.
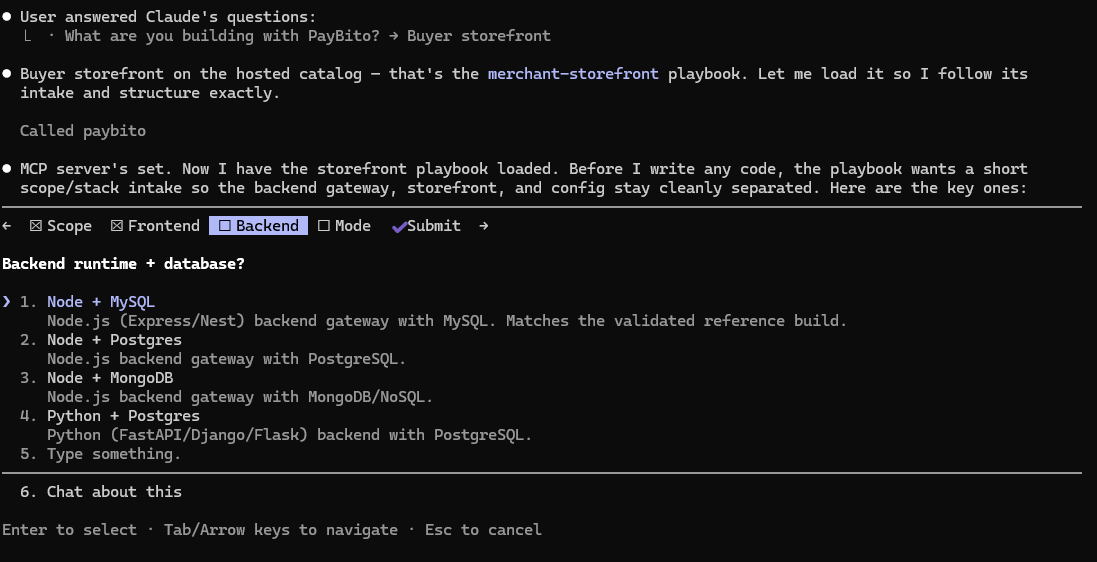
Backend runtime + database
The backend gateway holds the key and owns the data — buyer accounts, the order↔buyer link (by PCN), the cart, and the webhook log. Pick a runtime + DB, e.g. Node (Express/Nest) + MySQL.
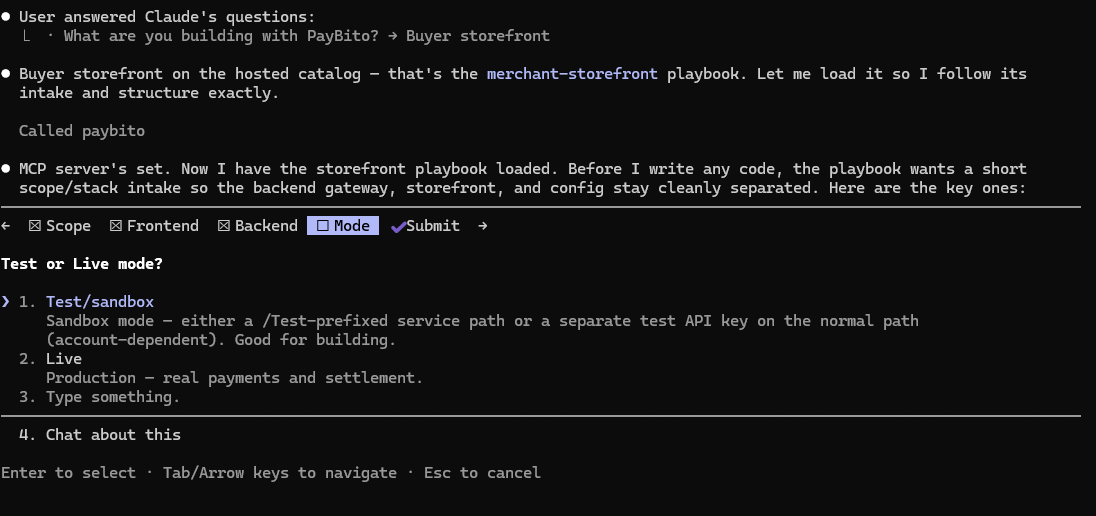
Test or Live mode
PayBito payments has a sandbox — test/sandbox while building, live for real settlement. The scheme is account-dependent (a /Test…-prefixed path, or a separate test key on the normal path), and the MCP keeps both in separate env vars.
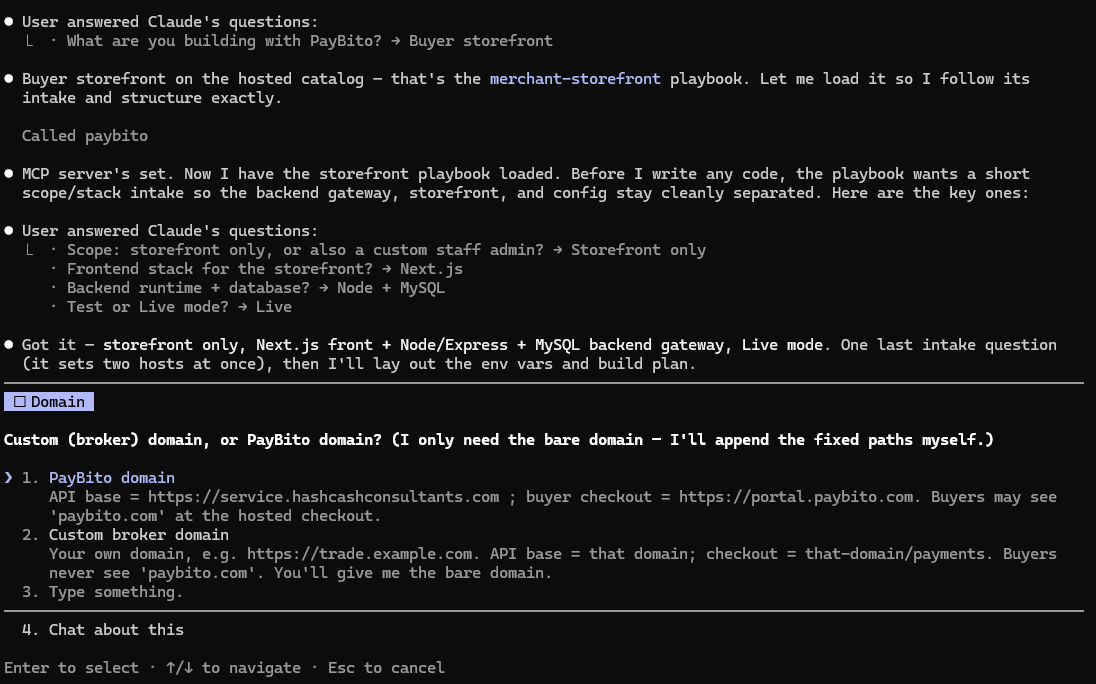
Custom domain, or PayBito domain
One answer sets two hosts. PayBito → API base service.hashcashconsultants.com, checkout portal.paybito.com. Custom broker domain → API base is your domain and checkout is your-domain/payments, so buyers never see “paybito.com”. You give only the bare domain — the MCP appends the fixed paths.
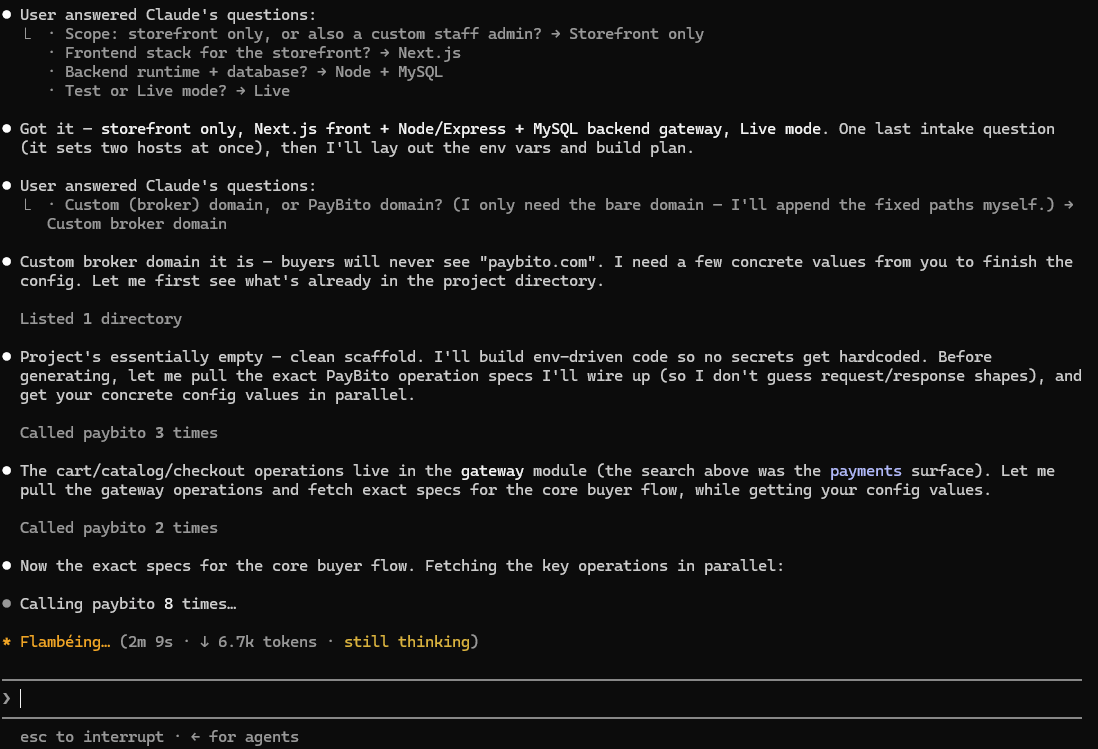
Perfect knowledge locked in → it builds
The MCP recaps every answer, then pulls the exact PayBito operation specs (so it never guesses request/response shapes) and starts writing the storefront + thin backend gateway — one module at a time, exactly as scoped.
Every choice above is a real prompt the MCP drives — it gathers exactly what it needs before writing a line of code, so each module (storefront, backend, config) stays cleanly separated and nothing unrelated gets touched.